.png)
Configure additional engines
During the guided setup, the main connection is created in the Configure Engine section. Due to Nexthink architecture, it is common to find an instance where more than one engine must be configured to import all the workstations and software packages. Therefore, in the Add new engines section, as many engines as necessary can be configured.
To start this procedure, click on the Get started button, located in the third section of the guided setup:
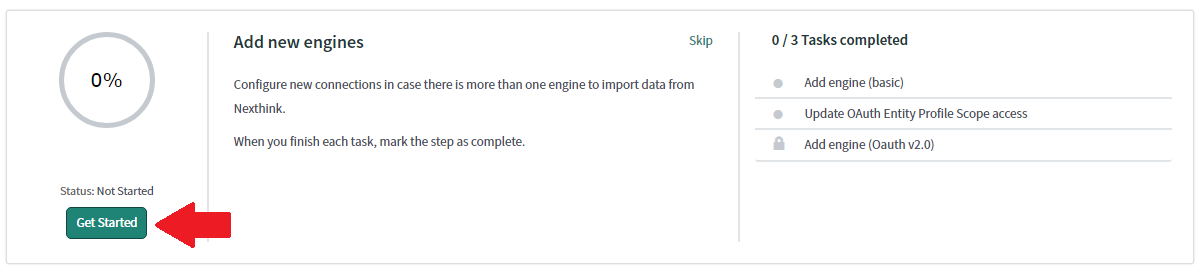
Once clicked, the following content page is displayed:

This part of the setup guide makes it possible to configure new engines using both basic and OAuth authentication methods.
However, unlike in the previous Configure Engine section, in this case, the engines must be set using a different methodology and the following steps must be applied:
Configure a connection using basic authentication type:
The connection to the engine using basic authentication can be created by clicking on the button configure displayed in the add engine (basic) section. The Flow designer will be displayed, where the button add connection located in the top right corner must be clicked to show the create connection modal windows where the following fields should be populated:
Field | Description |
|---|---|
Connection Name | Name of the engine |
Connection URL | URL of the engine |
Credentials Name | Name of the record that will store the credentials |
User name | User name to access the engine |
Password | Password to access the engine |
To finish setting up the engine, click on create connection in the bottom-right corner of the window.
This procedure can be repeated as many times as necessary to configure the connections to all the Nexthink engines in our instance.
If it is necessary to set a mid server for this new engine, it should be added to the record created automatically on the http_connection table.
In this case, go to the http_connection table and search for the record with the same name as was set for the engine connection in the previous step. For example, if the connection is called basic engine with mid server, the following record should be accessed in the table:
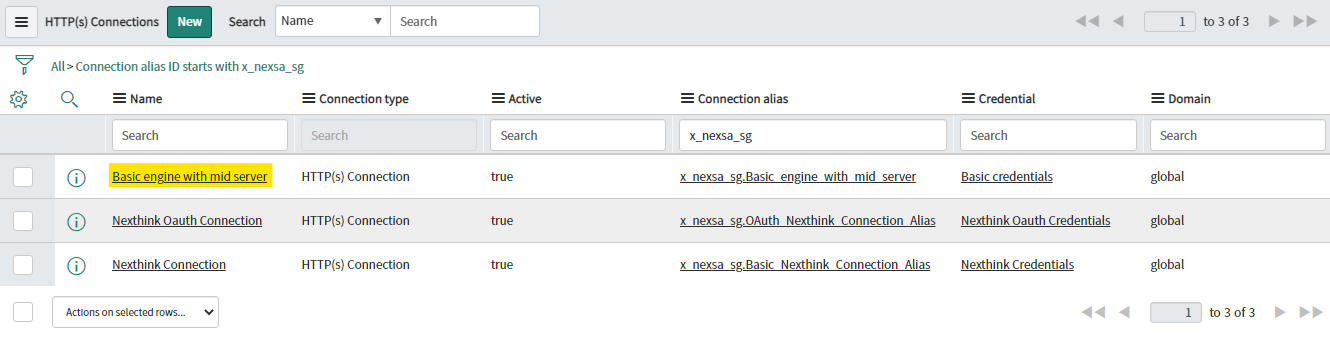
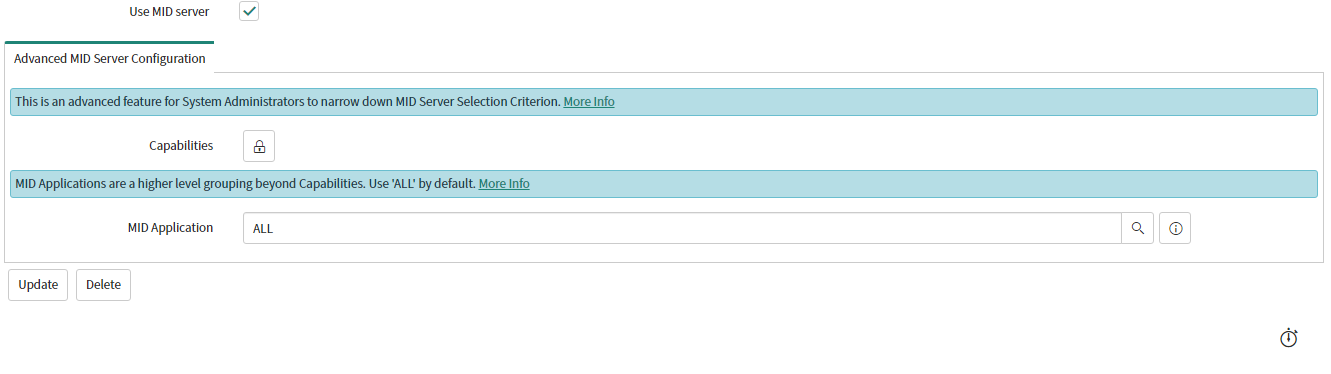
After this, the record will be displayed in a form, and the checkbox use mid server should be activated as shown below:
Configure a connection using OAuth v2.0 authentication type
There is a different procedure to configure an additional engine using OAuth v2.0 in order to authenticate the user. First of all, it is necessary to Update OAuth Entity Profile Scope access.
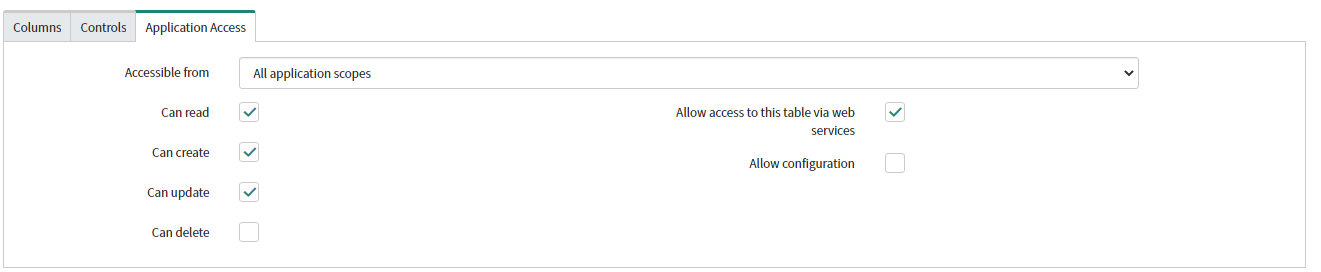
Click on the configure button in this section and the OAuth Entity Profile Scope table will be displayed. It is necessary to click on the name of the table, select the global scope, and set the Can create and Can update permissions as shown below in the application access tab and save the record:
By default, the next step is locked because it is dependent on the Update OAuth Entity Profile Scope access section. Hence, to continue, the Mark as complete button must be clicked to unlock the Add engine (OAuth v2.0) section.
When this section is available, it will be possible to click on configure and follow a similar procedure to adding an engine using basic authentication.
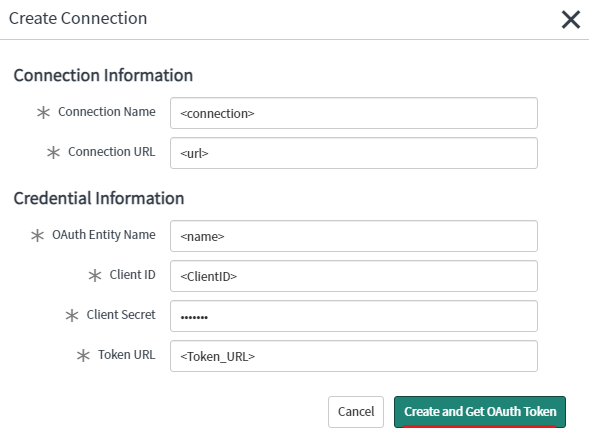
The Flow designer will be displayed, where the button add connection located in the top right corner must be clicked to show the create connection modal windows where the following fields should be populated:
Field | Description |
|---|---|
Connection Name | Name of the engine |
Connection URL | URL of the engine |
OAuth Entity Name | Name of the record that will store the credentials |
Client ID | Client ID to access the engine |
Client Secret | Client Secret to access the engine |
Token URL | Token URL to request a token for the connection to the engine |
To finish setting up the engine, click on create and Get OAuth Token in the bottom-right corner of the window.